Elderberry Syrup: Why Summer Is Actually the Best Time to Make It
This post contains affiliate links. As an affiliate for Amazon Associate and Wish Garden Herbs, I earn from qualifying purchases at no additional cost to you.
Every October, the same thing happens. Someone gets sick, realizes they meant to make elderberry syrup months ago, and ends up panic-buying an expensive bottle at a health food store. I was that person for years.
The shift happened when I started studying herbalism seriously and realized that the most effective way to use elderberry is not reactive but preventive. The research supports this. And making a batch in June means you are walking into fall with a full supply, a lower cost per serving, and an immune system that has been gently supported all summer.
This post covers the clinical evidence, the exact recipe I use, correct dosing for adults and children, and why the timing of when you start matters more than most people realize.
What the Research Actually Says
Multiple randomized controlled trials confirm that elderberry preparations significantly reduce the duration and severity of cold and flu symptoms. A 2016 study published in Nutrients found that elderberry supplementation substantially reduced cold duration and severity in air travelers. A 2004 study in the Journal of International Medical Research found elderberry extract reduced influenza duration by an average of four days compared to placebo.
Direct antiviral activity against influenza viruses has been demonstrated in laboratory research. The flavonoids in elderberry, particularly cyanidin-3-glucoside and cyanidin-3-sambubioside, appear to bind to and prevent the entry of influenza virus particles into host cells.
Ingredients
1 cup dried elderberries
3 cups filtered water
1 cinnamon stick
5 whole cloves
1 tablespoon freshly grated ginger (or 1 teaspoon dried)
1 cup raw honey (added AFTER cooling — heat destroys beneficial enzymes)
1. Combine elderberries, water, cinnamon, cloves, and ginger in a medium saucepan.
2. Bring to a boil, then reduce heat and simmer uncovered for 45-minutes until the liquid reduces by roughly half.
3. Remove from heat and allow to cool to room temperature.
4. Mash the berries with the back of a spoon.
5. Pour through a fine mesh strainer into a large bowl. Press the berries firmly to extract all the liquid.
6. Allow liquid to cool completely to below 100°F before adding honey.
7. Stir in honey until fully incorporated.
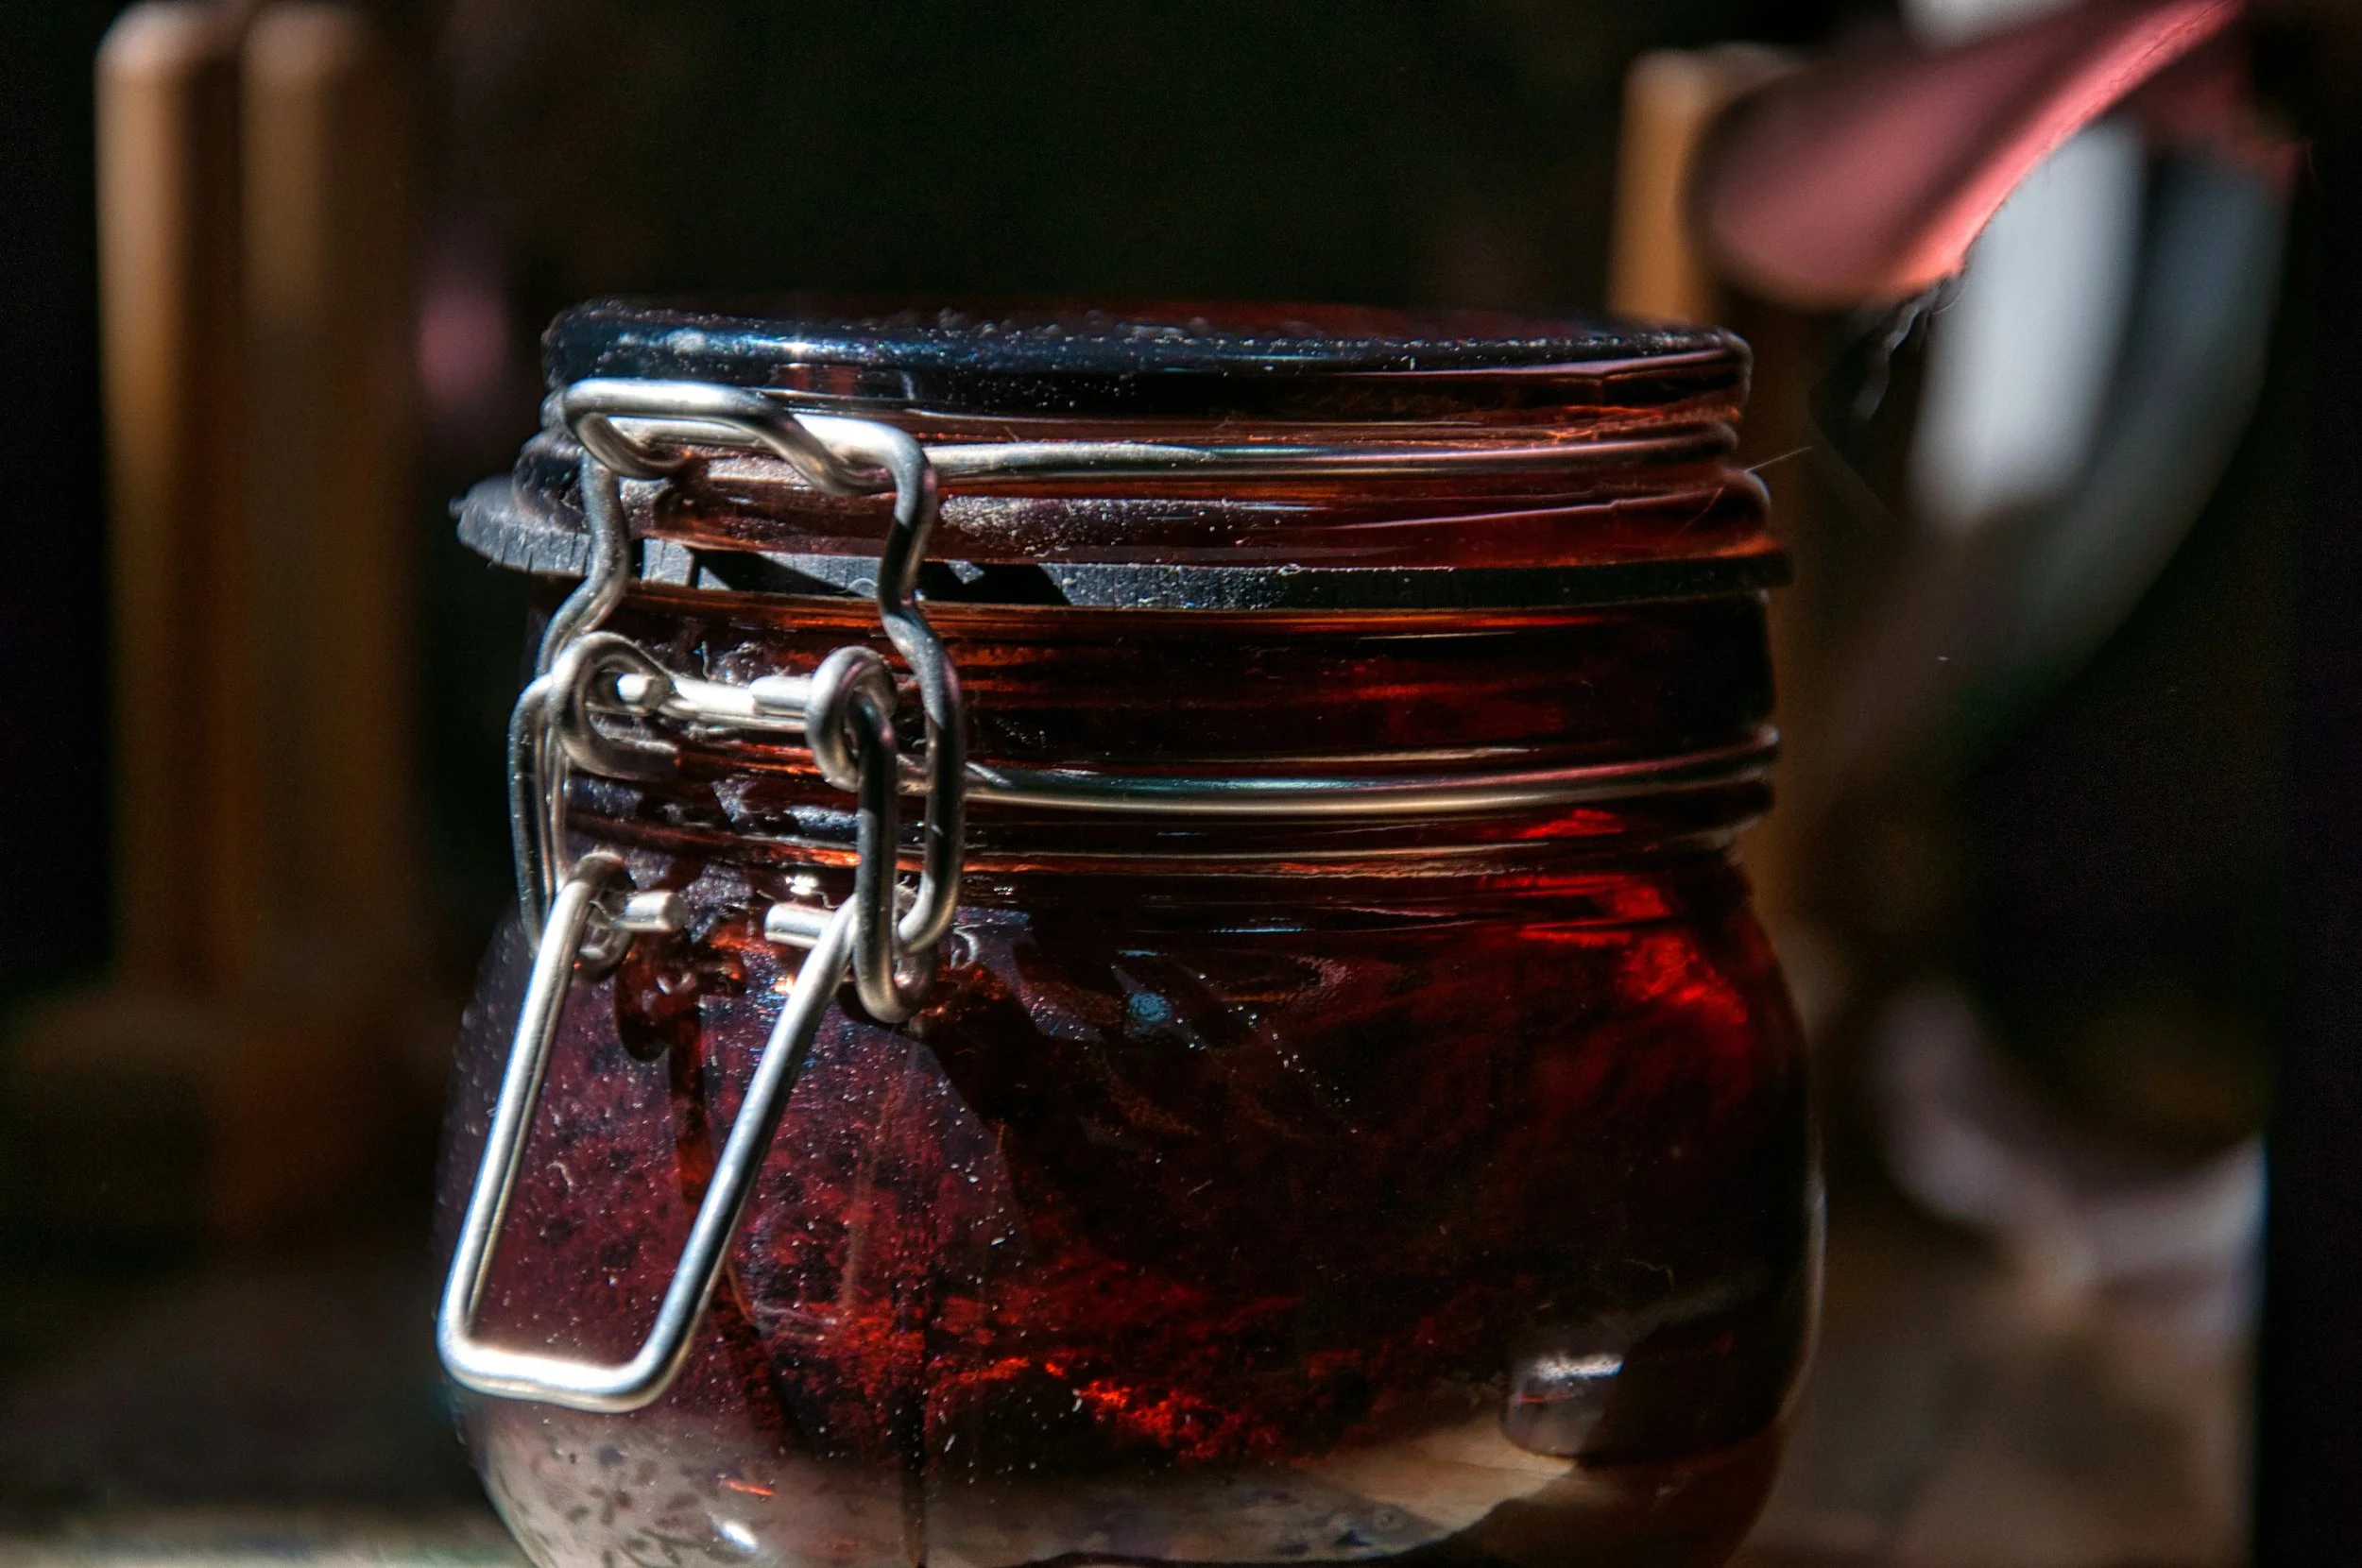
8. Pour into clean glass bottles with tight-fitting lids.
Storage and Shelf Life
Refrigerated: 2 to 3 months.
Frozen in ice cube trays then transferred to a freezer bag: up to 12 months.
Do not store at room temperature.
Dosing
PREVENTIVE (daily maintenance): Adults 1 tablespoon daily. Children over 1 year: 1 teaspoon daily.
AT ONSET OF ILLNESS: Adults 1 tablespoon four times daily. Children over 1 year: 1 teaspoon four times daily. Use for up to five days at illness doses.
NEVER give honey to children under 12 months due to risk of infant botulism. For children under 1, omit honey and use a small amount of maple syrup instead.
Common Mistakes
Adding honey while hot — this destroys the beneficial enzymes and some of the antimicrobial properties of raw honey. Always cool completely first.
Using raw elderberries — raw elderberries contain sambunigrin, a cyanogenic glycoside that causes nausea and vomiting. Always cook elderberries before consuming.
Stopping when symptoms start — the research supports starting AT first symptom onset and continuing for several days.
For a ready-made option:
Wish Garden Herbs organic elderberry tincture
The information in this post is educational and does not constitute medical advice. Please consult your healthcare provider before making changes to your wellness routine.